
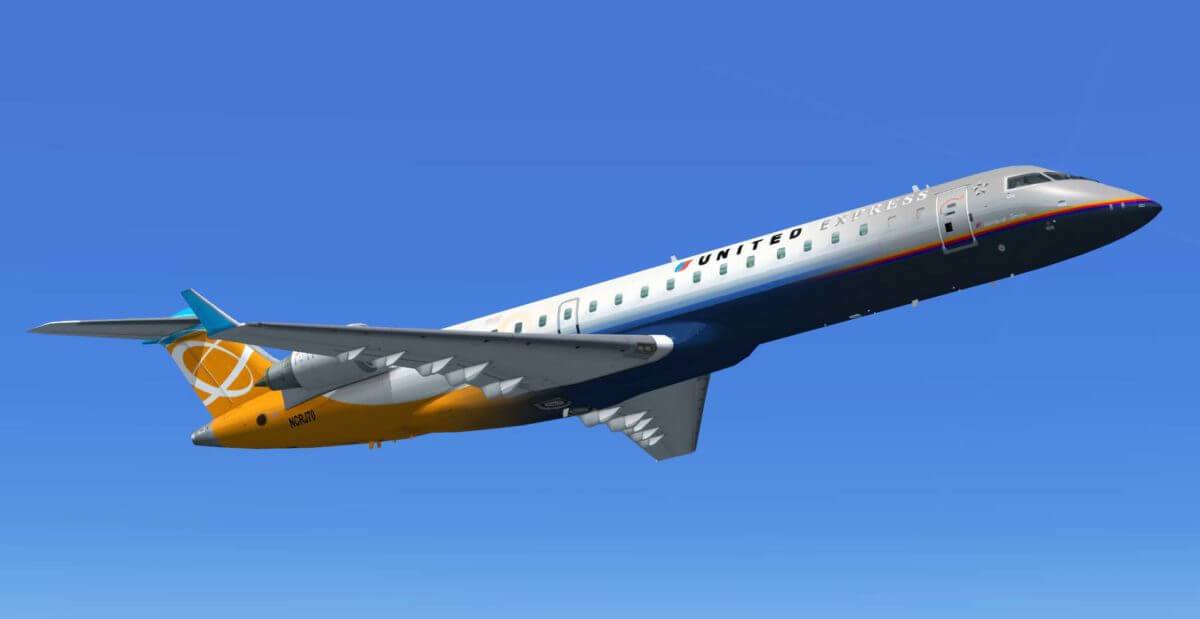
This tutorial will walk you through the steps of installing addon repaints/textures in FSX. I’m going to be using the United Express Bombardier CRJ 700 textures in this example. It is helpful to have hidden files and folders, along with file extensions shown.
Step 1: Download and Extract
Download and extract the texture file. Most of the files you will download are contained in a zip or rar file. You can either right click the .zip file and press extract all, running through the extraction wizard, or use a program such as Winrar, Winzip, or 7-zip to extract it. All do the same thing. If the file is a .exe or .msi, then you can just run the installer and it should automatically be installed for you.
Step 2: View Folder Contents
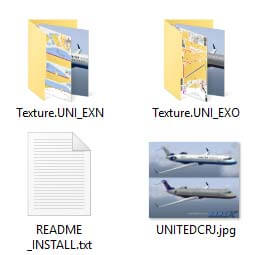
Inside the addon folder, we have two texture folders, a readme text file, and screenshot. The texture folders contains the actual aircraft textures, while the readme contains the code we need to copy to the aircraft.cfg file.
Step 3: Copy Texture Folders
Copy all of the texture folders to the corresponding aircraft folder in SimObjects folder.
DVD Version: C:\Program Files (x86)\Microsoft Games\Microsoft Flight Simulator X\SimObjects\”Airplanes” or “Rotorcraft”\
Steam Version: C:\Program Files (x86)\Steam\steamapps\common\FSX\SimObjects\”Airplanes” or “Rotorcraft”\
Step 4: Copy Texture Code
Open up the readme file, and you should find fltsim.# entries that correspond to the texture files. The texture=”name of folder” under each fltsim entry points FSX to the correct folder. Copy all of the entries and paste them below the last existing fltsim entry in the aircraft.cfg file. In this example, the last entry was fltsim.3, so the addon entries become 4 and 5.
| Addon Texture Code | Last Fltsim Entry with Addon Textures Below |
[fltsim.X] title=Bombardier CRJ 700 UNITED Express “Old” sim=Bombardier_CRJ_700 model= panel= sound= texture=UNI_EXO kb_checklists=BombardierCRJ700_check kb_reference=BombardierCRJ700_ref atc_id= atc_airlilne=United atc_parking_types=GATE,RAMP ui_manufacturer=”Bombardier” ui_type=”CRJ700″ ui_variation=”UNITED Express “Old”” ui_typerole=”Regional Jet” ui_createdby=”Microsoft Corporation” description=”The CRJ (Canadair Regional Jet) family …” [fltsim.X+1] | [fltsim.3] title=Bombardier CRJ 700 sim=Bombardier_CRJ_700 model= panel= sound= texture= kb_checklists=BombardierCRJ700_check kb_reference=BombardierCRJ700_ref atc_id=NCRJ70 atc_parking_types=GATE,RAMP ui_manufacturer=”Bombardier” ui_type=”CRJ700″ ui_variation=”White” ui_typerole=”Regional Jet” ui_createdby=”Microsoft Corporation” description=”The CRJ (Canadair Regional Jet) family …” [fltsim.4] [fltsim.5] |
Troubleshooting Addon Repaints / Textures
- Ensure that “Show all variations“in the FSX aircraft selection menu is checked off.
- When two or more texture entries have the same fltsim number, only the first entry will be displayed in the aircraft selection menu.
- The line texture= in the texture entry should point to the correct folder with the addon textures. If the line says texture=UNI_EXO but the folder is name Texture.UNI_EXI, FSX will not be able to read the new texture.